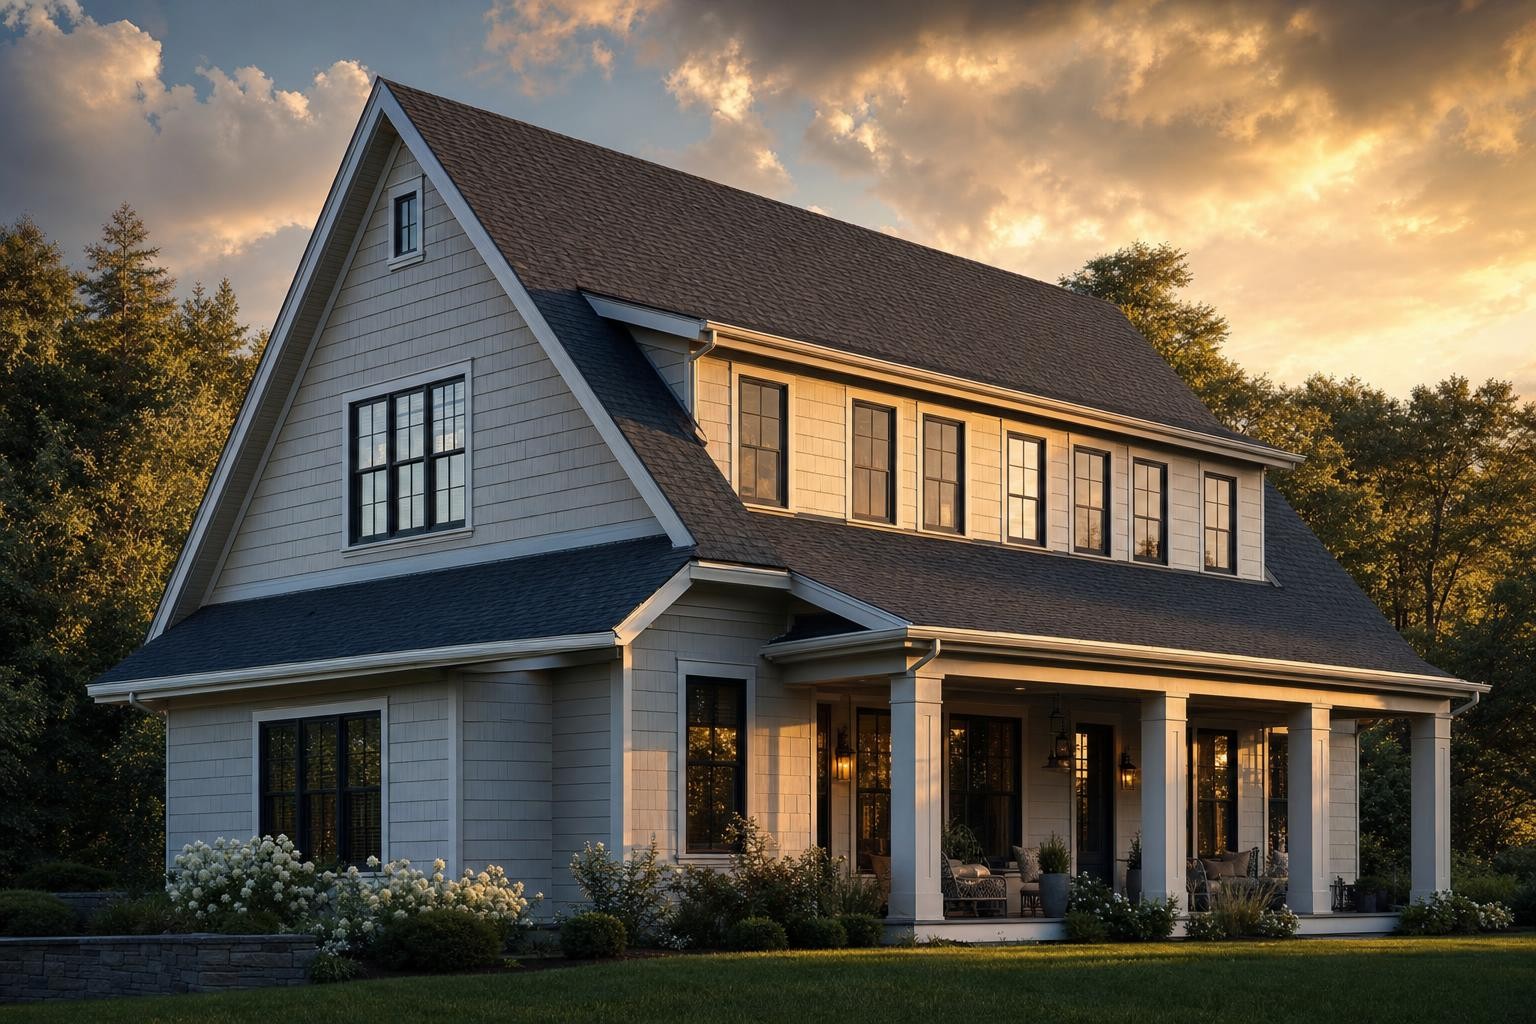
Stand a roofer in your driveway and watch where their eyes go first. Not to the shingles, not to the gutters, not to the chimney. They look at the angle of your roof against the sky — and within a second or two they’ve formed an estimate of your material options, roughly what the labor will cost, how many people they’ll need on the crew, whether anyone’s getting tied off, and where your roof is most likely to fail. All of that comes from a single number they haven’t even measured yet: the pitch.
Homeowners almost never think about pitch. It’s not on the sample board at the showroom, it’s not the thing the salesperson leads with, and it doesn’t show up as a line item you can point to on a bid. But it’s underneath every one of those things. Pitch is the hidden variable that makes one house’s roof cost 40% more than an identical-looking neighbor’s, the reason your porch roof needs a completely different material than the rest of your house, and the quiet explanation for why some roofs shed weather for 30 years while others are fighting water from the day they’re installed. This is the number the whole trade organizes around — so it’s worth understanding exactly what it is and everything it controls.
What pitch actually is (and how it’s different from slope and angle)
Roof pitch is expressed as a ratio of rise over run, and by long-standing convention the run is always fixed at 12. So a “6:12 pitch” (spoken “six-twelve”) means the roof rises 6 inches vertically for every 12 inches it travels horizontally. A 12:12 roof rises 12 inches over 12 — a perfect 45-degree angle.
Three terms get used loosely and it’s worth separating them:
- Pitch / slope — the rise-over-run ratio (4:12, 8:12, etc.). In residential roofing these two words are used interchangeably in practice, even though a purist will tell you “pitch” historically meant rise over the full span and “slope” means rise over run. On a modern bid, when someone says pitch they mean rise:12.
- Angle — the same thing expressed in degrees. A 4:12 is about 18°, a 6:12 is about 27°, a 9:12 is about 37°, and a 12:12 is exactly 45°. Roofers think in the ratio; engineers, solar installers, and adjusters often think in degrees.
- The multiplier — the number that converts the flat footprint of your house into the actual surface area of the roof. More on this below, because it’s where the money lives.
Measuring pitch is genuinely simple, which is why a good contractor will do it on the spot rather than guess. Hold a level horizontally against the roof (or a rafter in the attic), measure 12 inches out along the level, and measure straight down from that point to the roof surface. That vertical distance is the first number in your ratio. Phone apps and inclinometers do the same thing digitally, and from the ground a practiced eye reading the gable-end triangle gets within a pitch or two. The point is that pitch is a knowable, measurable fact about your house — not an opinion — and every downstream decision should trace back to it.
The pitch categories every roof falls into
Pitch isn’t just a number on a spectrum; it sorts roofs into functional categories, and the category is what dictates the rules.
- Flat / low-slope (below 2:12). These aren’t truly flat — a “flat” roof still needs a slight grade to drain — but they’re too shallow for shingles. Porches, additions, dormers, sunroom roofs, and many mid-century and modern homes live here. This category has its own materials and its own physics.
- Conventional low end (2:12 to 4:12). The awkward in-between zone. Shingles are allowed here, but only with extra measures the code specifically requires (see below). Water moves off slowly, so the margin for error shrinks.
- Standard, walkable slope (4:12 up to about 7:12 or 8:12). The comfortable middle where most homes sit and where labor is at its cheapest and safest. A crew can walk this without special equipment.
- Steep slope (roughly 7:12 and up). The pitch where a roofer can no longer simply stand and work. Footing gets precarious, fall-protection gear comes out, work slows dramatically, and the labor math changes.
- Very steep (12:12 and beyond). Victorians, steep gables, turrets, and dramatic architectural rooflines. These require staging, roof jacks, harnesses, and specialty crews — and they price accordingly.
The two lines that matter most are 2:12 (below it, shingles are off the table) and roughly 7:12 (above it, the labor economics change). Everything else is gradients between those thresholds.
How pitch decides what material you’re even allowed to use
This is the part homeowners find surprising: you don’t get to freely choose your roofing material. Your pitch has already narrowed the menu, and in some cases made the choice for you — because of building code, not preference.
Under the International Residential Code (IRC section R905.2.2), asphalt shingles may only be installed on slopes of 2:12 or greater. Below that, shingles are not code-compliant, period — no jurisdiction inspecting to the IRC will pass them, and no shingle manufacturer will warranty them.
And even within the shingle-eligible range, the rules tighten at the low end:
- From 2:12 up to 4:12, the code requires double-layer underlayment — two plies applied in an overlapping, shingled fashion — because on a shallow slope water drains slowly enough that a single layer of underlayment isn’t a reliable second line of defense. This is a real cost and labor difference most homeowners never hear about until it appears (or, worse, doesn’t appear) on a bid.
- At 4:12 and above, a single layer of underlayment is acceptable, which is why the “normal” roof most people picture starts at 4:12.
The reason shingles fail below 2:12 is worth understanding, because it explains the whole rule. Asphalt shingles are not a waterproof membrane — they’re an overlapping water-shedding system that depends on gravity pulling water down and off each course before it can find a lap. On a steep roof, water is gone in seconds. On a shallow one, water lingers, ponds in low spots, and — critically — wind-driven rain can be pushed backward and upward under the shingle laps, past the point the shingles were designed to protect. Slow drainage plus capillary action plus wind is exactly the combination shingles can’t handle. Install them on a 1:12 porch anyway and you haven’t saved money; you’ve bought a leak with a countdown timer, and voided the warranty on the way.
So what goes on a true low-slope roof? A single-ply or fully-adhered membrane built for standing water and slow drainage:
- TPO and PVC — heat-welded thermoplastic membranes, typically 20–30 year service life, common on modern low-slope residential and light commercial.
- EPDM — a monolithic rubber membrane (one continuous sheet rather than overlapping pieces), 25–30 years, genuinely indifferent to standing water.
- Modified bitumen — asphalt-based rolled roofing reinforced with polyester or fiberglass, torch- or self-adhered, a common choice for residential low-slope sections.
This is why the honest answer to “can I just match my porch roof to the house?” is often no — and why a contractor who quotes shingles across a 1.5:12 porch either didn’t measure the pitch or is hoping you won’t. (For the broader material trade-offs once pitch has narrowed your options, see our breakdown of asphalt vs. metal vs. tile.)
The single most useful question you can ask a contractor about a low or transitional section of your roof is simply: “What’s the pitch there, and does it change the material or the underlayment?” A pro answers instantly with a number and a reason. Silence, or “it’ll be fine,” is the tell.
How pitch decides your price — and why it’s two multipliers, not one
Here’s where pitch quietly moves thousands of dollars, and where reading a bid like an insider pays off. Pitch inflates your cost in two separate, stacking ways, and confusing them is how homeowners misjudge a quote.
Multiplier one: you have more roof than you think
The footprint of your house — the flat area you’d measure on a satellite image or a floor plan — is not the area of your roof. A sloped roof is the hypotenuse over that footprint, and the steeper it is, the more actual surface area sits above the same footprint. Contractors convert footprint to real area using the roof pitch multiplier, which comes straight from the Pythagorean theorem:
Multiplier = √(rise² + 12²) ÷ 12, then Actual roof area = footprint area × multiplier.
Run the numbers and the effect is dramatic at the top end:
| Pitch | Approx. angle | Area multiplier | Extra roof vs. footprint |
|---|---|---|---|
| 2:12 | 9° | 1.014 | +1% |
| 4:12 | 18° | 1.054 | +5% |
| 6:12 | 27° | 1.118 | +12% |
| 8:12 | 34° | 1.202 | +20% |
| 9:12 | 37° | 1.250 | +25% |
| 10:12 | 40° | 1.302 | +30% |
| 12:12 | 45° | 1.414 | +41% |
A 2,000-square-foot footprint at a gentle 4:12 is about 2,108 square feet of actual roof. That same footprint at a steep 12:12 is 2,828 square feet — more than 700 extra square feet of shingles, underlayment, labor, and waste, on a house that looks identical from above. Every material quantity on the bid scales with this number, which is why pitch is baked into the “squares” a roofer counts before anything else. (For how squares, waste factor, and quantities are actually tallied, see how roofers price your job.)
Multiplier two: steep roofs cost more per square to install
The area multiplier only accounts for having more roof. It says nothing about the fact that steeper roof is harder and slower and more dangerous to install — and that’s a second, independent surcharge on top of the extra area.
Somewhere around 7:12, a roof crosses from “walkable” to “steep.” Below that line, a crew moves across the roof on foot, carries bundles up, and works at full pace. Above it, everything changes: workers need roof jacks and planks to stand on, fall-arrest harnesses become mandatory (and slow every movement), material has to be staged so it doesn’t slide off, and the simple act of setting each shingle takes longer. The result is a steep-slope labor surcharge that most contractors apply as a rate bump per square:
- 7:12 to 9:12 — roughly 1.15× to 1.25× the base labor rate.
- 10:12 to 12:12 — roughly 1.30× to 1.50×, as specialty staging and full fall-protection become non-negotiable.
- Above 12:12 — can run 2× or more, into the territory of specialty steep crews only.
Notice what this means when you stack the two effects. At 12:12, the area is already ~41% larger than the footprint, and the labor rate on that larger area might be 1.4× as well. Those multiply. This is the real reason a steep, architecturally dramatic roof can cost 60–70% more than a low, simple one over the same footprint — not because anyone padded the bid, but because both the quantity and the difficulty went up at once. A homeowner who only knows about the area multiplier will look at a steep-roof quote and assume they’re being overcharged. They’re usually not; they’re seeing two legitimate multipliers doing their job.
How to sanity-check a bid against your pitch: a proposal on a genuinely steep roof that shows no steep-slope line item, no mention of staging or safety, and a per-square labor rate identical to a walkable job is not a good deal — it’s a bid from someone who either mis-measured or is going to discover the pitch mid-job and come back with a change order. On a steep roof, seeing the surcharge is reassuring, not alarming.
Pitch and how long your roof actually lasts
Beyond material and money, pitch has a quieter, longer-term effect: it partly determines how long whatever you install will survive.
Steeper roofs shed water and debris faster, dry out sooner, and last longer. Water spends less time on the surface, so there’s less opportunity for it to find a lap, wick under a shingle, or sit against a fastener. Leaves and pine needles slide off instead of composting in a valley. Snow sheds rather than sitting as a saturating load. After rain, a steep roof dries quickly, which suppresses the moss, algae, and moisture that age a roof from the top down. All of that adds real years.
Low-slope roofs live in the opposite condition. Water drains slowly, debris collects, low spots can pond, and the surface stays wet longer after every storm. None of that is a disqualifier — properly-built low-slope membranes are engineered for exactly these conditions — but it does mean the installation quality and drainage design matter far more on a low slope, where the material has no gravity assist and no margin for a sloppy detail. On a shallow roof, the flashing, the seams, and the drainage are the whole ballgame.
Pitch also interacts directly with your ventilation and ice-dam risk in cold climates: shallow roofs give meltwater more time to refreeze at the eave, and the geometry of a low slope changes how a dam builds. (The heat-transfer mechanism behind that is its own subject — see ice dams.)
The pitch-change trap: where your roof will probably leak first
If there’s one place to point a flashlight after reading this, it’s wherever two different pitches meet — and almost every house has at least one. The classic case is a steep main roof that transitions to a low-slope porch, an addition, or a shed dormer. These transitions are the single most failure-prone geometry on a typical house, for a compounding set of reasons:
- Concentrated water volume. The steep upper roof dumps a large, fast sheet of water directly onto the shallow lower section, which then has to move that whole volume off a surface with poor drainage. The low section is doing the hardest job at the exact spot it’s least equipped for it.
- A material seam. If the pitch drops below 2:12 at the transition, you’ve now got shingles meeting a membrane — two different systems that have to be married with flashing at precisely the wettest point on the roof.
- Ponding and backup. Debris collects in the transition, water slows, and wind-driven rain gets pushed back up under the upper course. It’s the low-slope failure mode, concentrated.
This is exactly why so many “mystery leaks” trace back not to a field of shingles but to a transition or a flashing detail — the theme of our deep dive on where roofs actually leak. When you’re getting bids, the transitions are where you want the contractor to slow down and get specific: what’s the pitch on each side, does the material change, and how is the junction flashed? A vague answer here is the most expensive kind of vague answer there is.
Pitch is also an architectural signature
It’s worth saying that pitch isn’t only a cost-and-code variable — it’s a huge part of what makes a house look like itself. A steep 12:12 gable is the visual DNA of a Tudor or a Victorian; a low, wide slope reads mid-century or modern; a moderate 6:12 is the quiet default of most suburban builds. When you replace a roof you’re not changing the pitch, but the pitch changes how a color and a shingle profile read — a dramatic dimensional shingle that looks stately on a steep slope can look busy on a shallow one, and vice versa. How a material actually reads on your roof, at your pitch, in your light, is nearly impossible to judge from a 3-inch sample chip (which is the whole argument of our piece on choosing a roof color).
What this means for you, practically
You don’t need to measure your own pitch or memorize the multiplier table. What you need is to know that pitch is the number underneath the numbers — and to use it as a lens on the bids you’re handed:
- Match material to pitch. If any section of your roof is below 2:12 — a porch, an addition, a low dormer — it should be quoted with a membrane (TPO, EPDM, PVC, or modified bitumen), not shingles. Shingles there are a code violation and a future leak.
- Expect the double-underlayment note on shallow shingle roofs. A 2:12–4:12 shingle roof that doesn’t mention two-layer underlayment is missing a code requirement, and you’ll want to ask why.
- Read the steep-slope surcharge as a good sign, not a rip-off. On a genuinely steep roof, a bid that transparently shows the area multiplier and a steep-labor line is more trustworthy than one that pretends pitch doesn’t exist.
- Interrogate the transitions. Wherever two pitches meet, ask what the pitch is on each side, whether the material changes, and how the junction is flashed. That’s where your roof is most likely to fail, and where a real pro will happily get specific.
A contractor who talks fluently about your pitch — measures it, tells you what it means for your material and your price, and points to your transitions before you ask — is showing you they understand a roof as a system governed by physics, not as a product they’re selling by the bundle. That fluency is one of the clearest signals you’re dealing with the right crew.
And once pitch has settled what you can put on your house and what it’ll take to install, the last question is the one you actually get to choose: what it’s going to look like. That’s the part you don’t have to leave to imagination — preview a real, photorealistic new roof on your own home, at your own pitch, before you commit to a shingle, a color, or a contractor.
Code references reflect the 2021/2024 IRC (notably R905.2.2 for asphalt-shingle slope and underlayment requirements) and common NRCA practice. Pitch multipliers are geometric; steep-slope labor surcharges are typical industry ranges and vary by contractor, region, and roof complexity. Local jurisdictions may amend or adopt earlier code editions — verify specifics with your building department or contractor.